Feature:
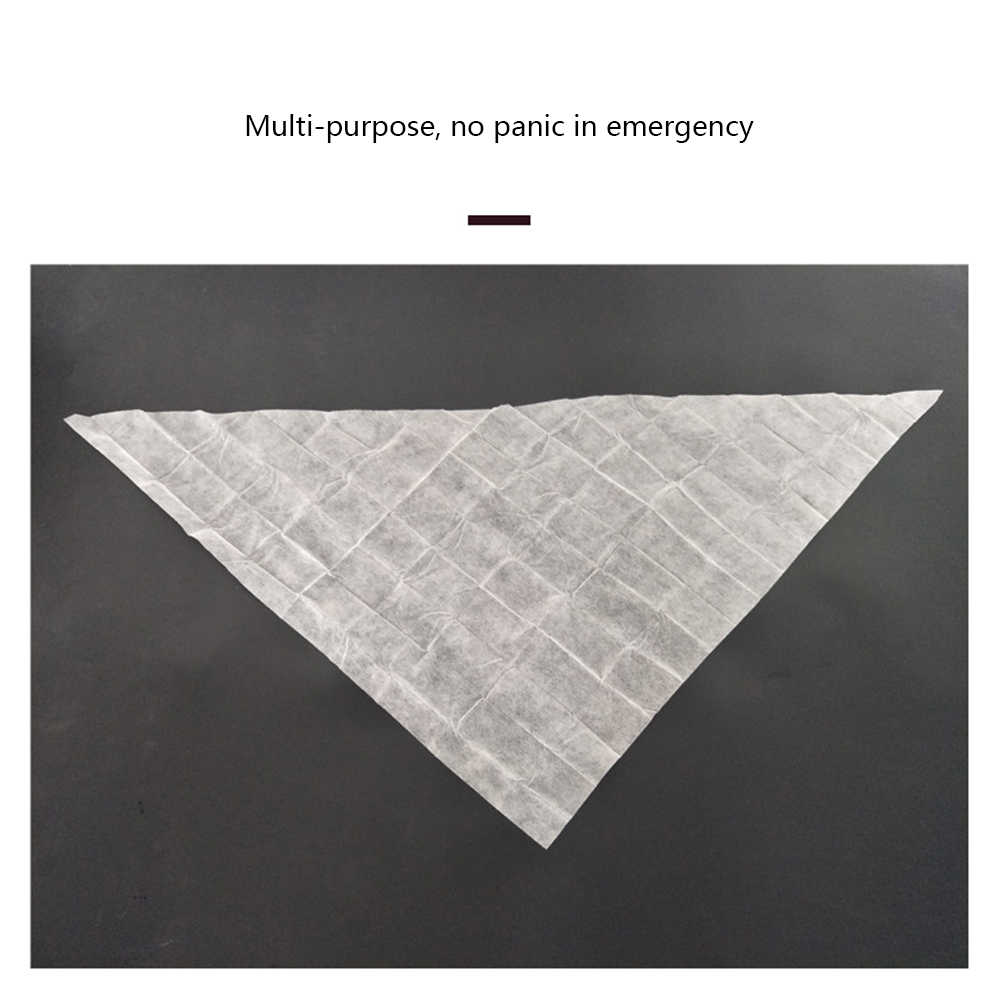
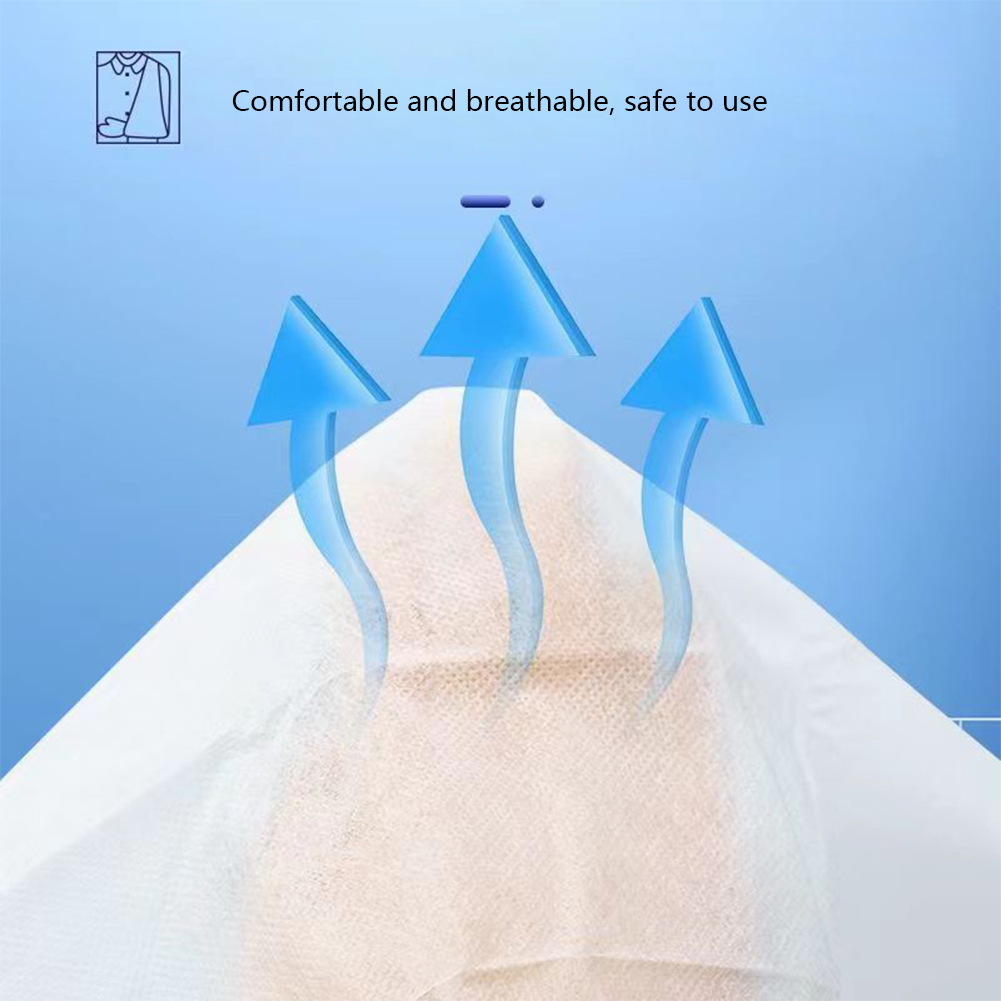
- Comfortable, breathable, and safe to use
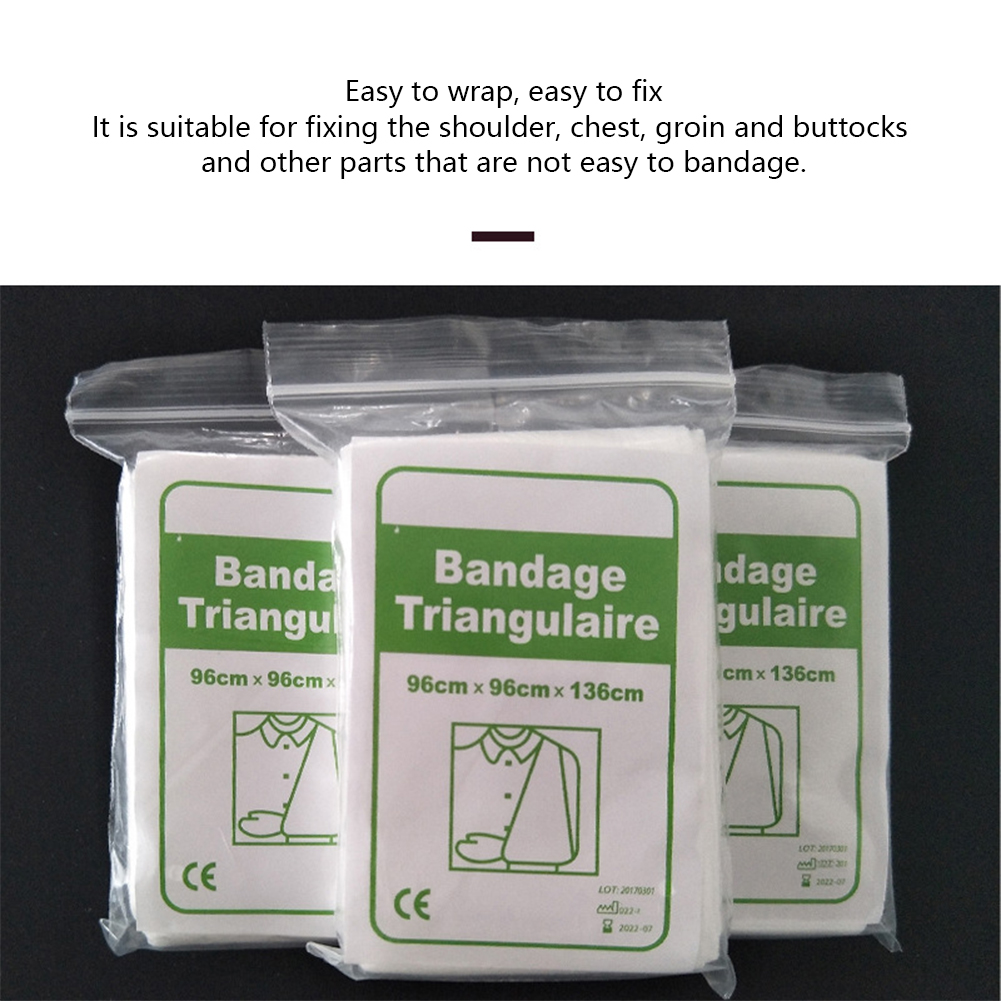
- Adopting POP non-woven fabric breathable structure to restrict limb movement, avoid aggravating the injury, and protect the wound
- Breathable construction, comfortable ventilation, fixed wound
Specification:
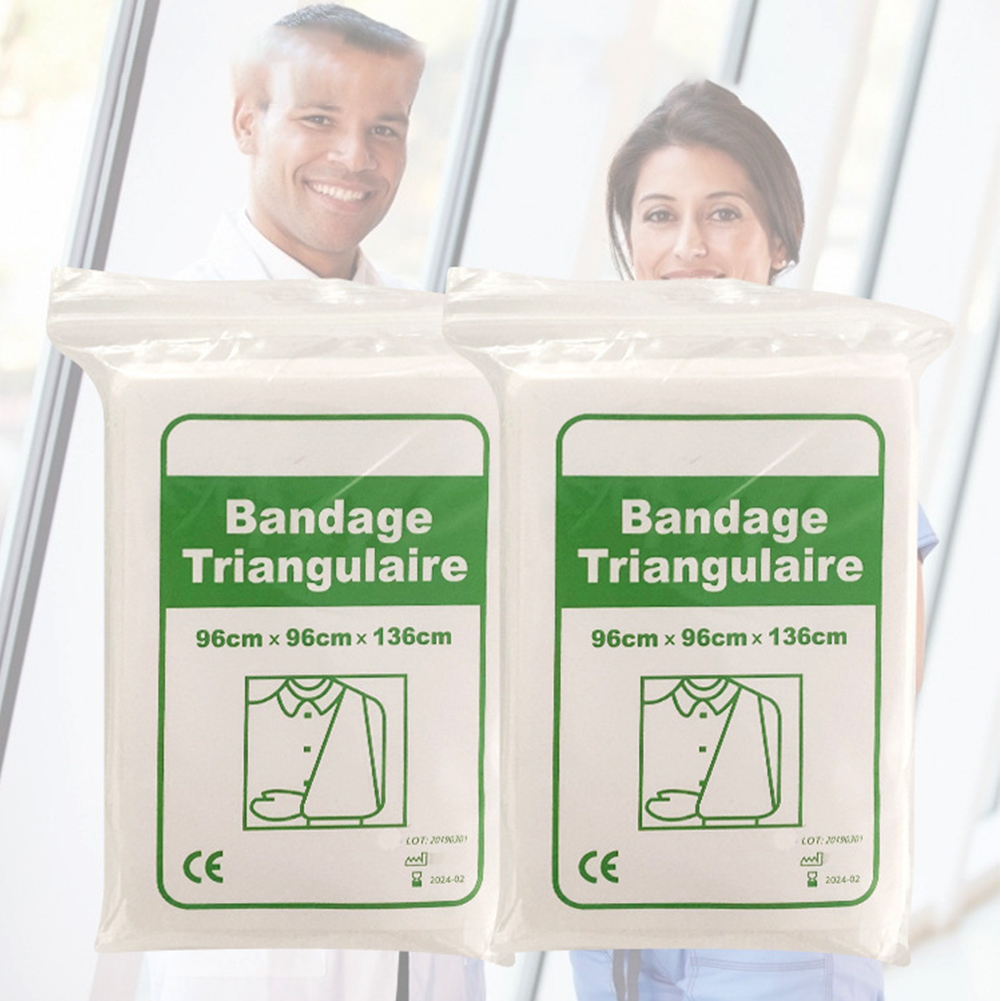
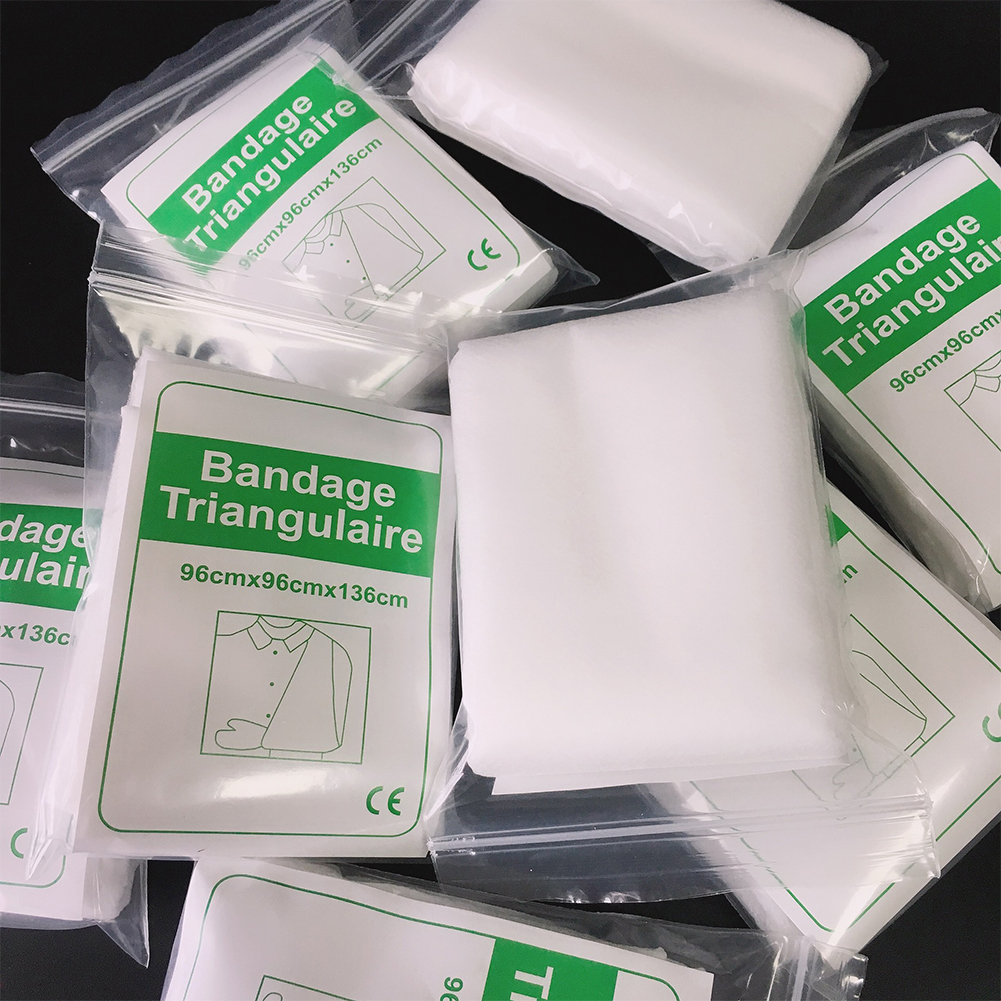
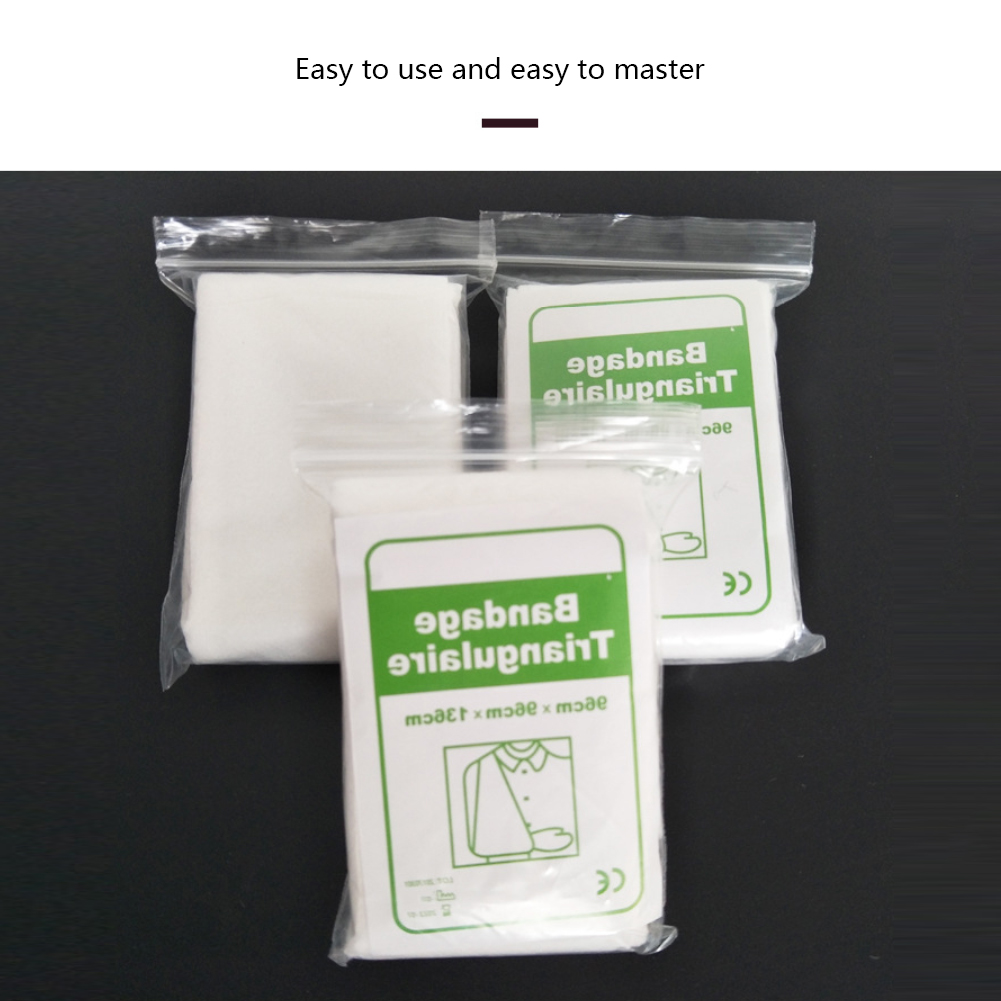
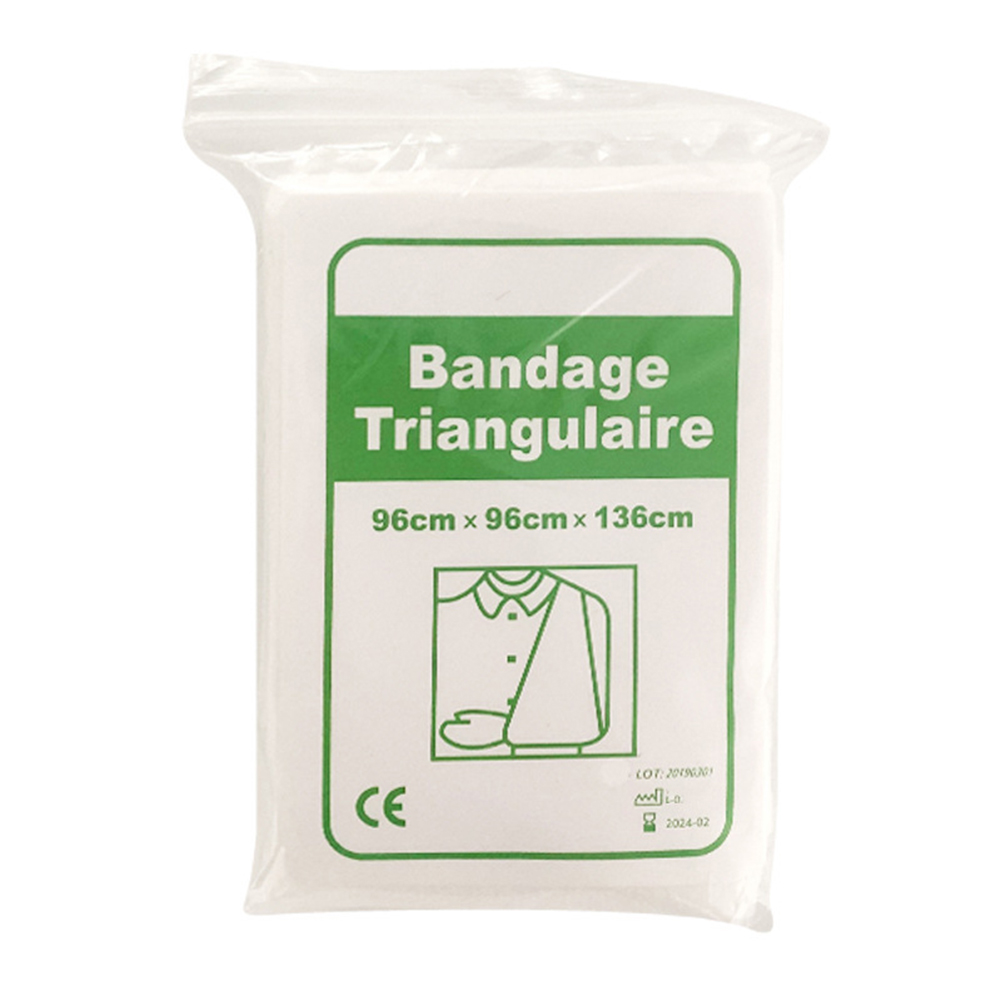
- Name: Triangle Bandage/Triangle Towel
- Weight:40g
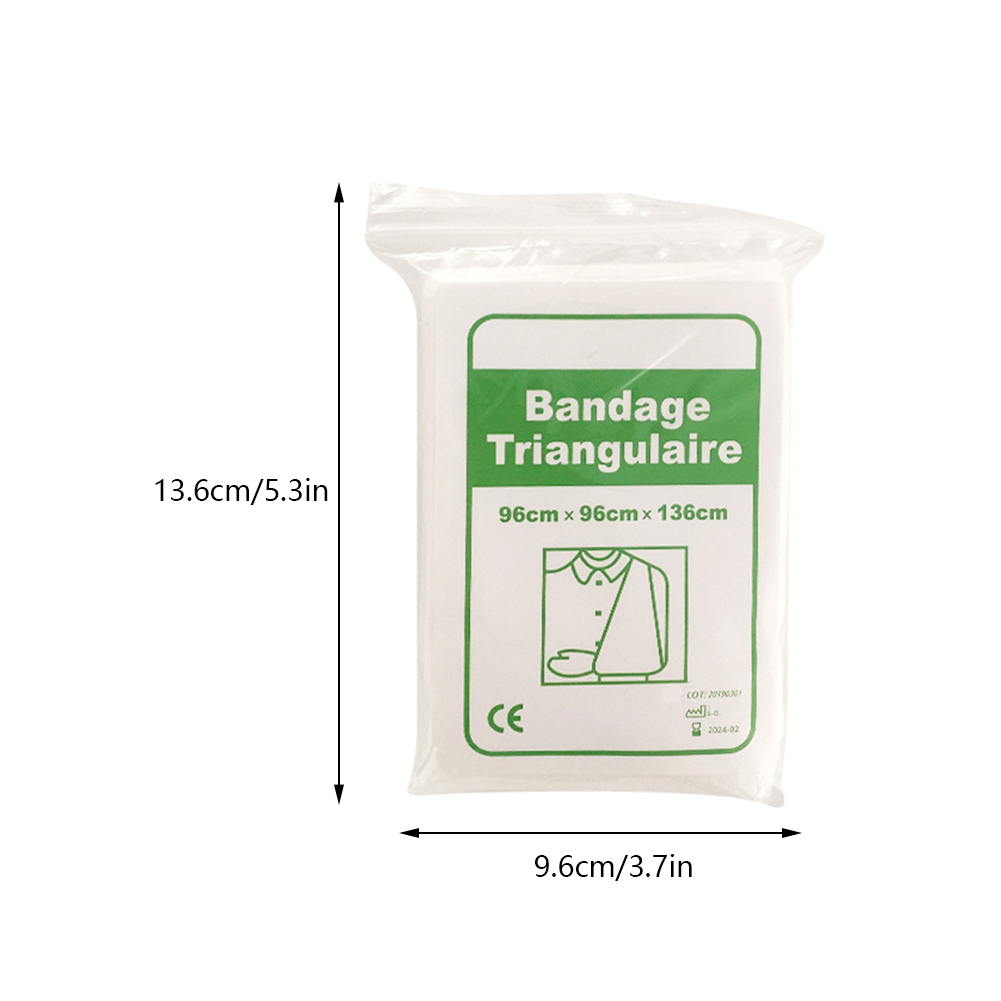
- Unfoldable Size: 96 * 96 * 136CM
- Material:Non woven fabric
Usage method:
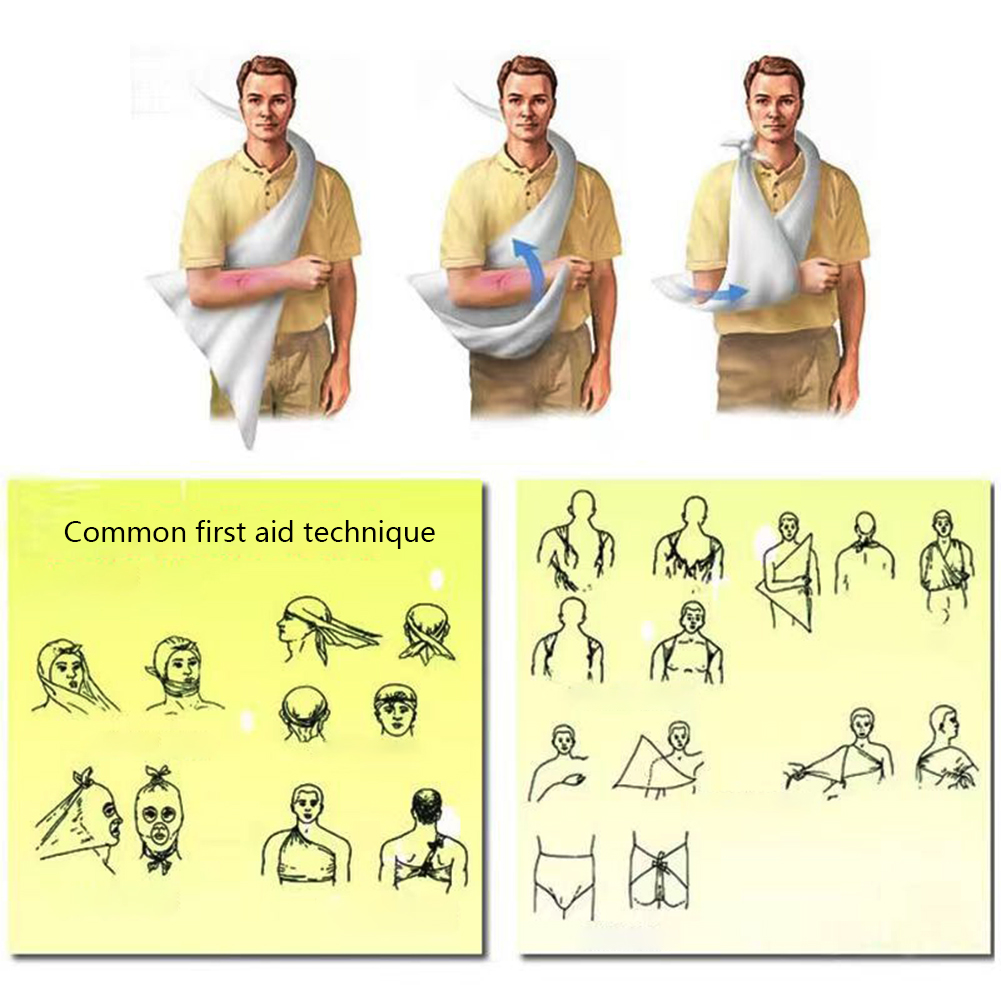
- Hand bandaging method - Place the injured hand flat in the center of a triangular bandage, point your fingers to the top corner, with the bottom edge transverse to the wrist, then fold back the top corner and pull it onto the back of the hand. Then, cross the left and right bottom corners on the palm or back of the hand and pull them up to the left and right sides of the wrist to wrap and knot;
- Forearm and upper arm bandaging method - This method is used for large area injuries of the upper limbs, such as burns. Knot one corner of the triangular bandage and place it on the injured hand, leaving a slightly longer knot for each use. Pull the other corner along the back of the arm to the opposite shoulder, wrap the injured limb around the top corner, bend the forearm to the chest, tighten the two bottom corners and tie the knot to provide suspension;
- The method of wrapping the calf and below - with the foot facing the bottom edge of the triangular bandage, place the foot on the side close to the bottom edge of the corner, lift the top corner and cross wrap it with the longer side of the corner, tie a knot on the calf, then fold the other corner onto the back of the foot, and tie a knot around the ankle and bottom edge;
- Knee bandaging method - fold the triangular bandage into a strip of appropriate width according to the injury, place the middle section of the bandage diagonally on the injured area, and press the upper and lower sides at both ends. Cross the ends behind the knee, with one end facing up and the other end facing down, wrap around the bandage, and tie a knot behind the knee in an "8" shape;
- Leg root wrapping method - fold the top corner and middle of the bottom edge of the triangular bandage (slightly off one end), wrap the thigh root with the folded edge, and tie a knot on the inner side of the thigh. Two bottom corners facing upwards, one in front and one behind, with the back corner longer than the front corner. Pull them towards the opposite side and tie a knot at the upper edge of the iliac bone on the opposite side;
- Head headband style bandaging method - Place the midpoint of the bottom edge of the triangular bandage on the upper part of the eyebrows, with the top corner hanging from the top of the head towards the pillow, then pull the bottom edge back through the left and right ears, cross at the pillow, press down on the hanging pillow corner, and then cross around the ears to the forehead to tighten and tie the knot. Finally, tuck the top corner upwards into the bottom edge or fix it with a safety pin or adhesive tape;
- The bandaging method for head brain tissue protrusion - When brain tissue protrudes from the wound, it should not be compressed and bandaged. First, cover it with a large piece of disinfectant wet gauze cloth, then roll it into a protective ring with gauze to cover the protruding brain tissue, and then bandage it with a triangular bandage;
- Head mask dressing method - used for extensive facial injuries or burns. The method is to tie a knot at the top of the triangular bandage and place it on the chin, covering the face and head and pulling it behind the pillow. Then, cross and tighten the two ends of the bottom edge and tie the knot on the forehead. Finally, cut holes and open windows in the mouth, nose, and eyes;
- Single eye bandaging method for the head - fold the triangular bandage into a four finger wide band, place it diagonally downwards at two-thirds of the injured eye, wrap the longer end of the lower side behind the pillow to press the shorter end of the upper side in front of the forehead, continue to wrap the long end backwards along the forehead to the healthy side of the temporal region, fold the short end back around the pillow to the healthy side of the temporal region, and tie a knot with the long end;
- Head and Eye Wrapping Method - Fold the triangular bandage into a four finger wide band, cover the central part over one injured eye, wrap the lower end from under the ear to behind the pillow, then press the upper end above the eyebrows through the opposite ear, continue to wrap around the head to the front of the opposite ear, fold the upper end diagonally downwards to cover the other injured eye, and then tie a knot around under the ear and the other end on the opposite ear or behind the pillow. The band bandage can also be used as a cross dressing method. The double eye bandaging method can also be achieved by folding a triangular bandage into a four finger wide strip and wrapping it horizontally around the head twice, tying a knot on one side;
- Bandaging method for chest injury on one side - if the injury is on the right chest, place the top corner of the triangular bandage on the right shoulder, and then pull the left and right bottom corners from the two armpits to the back (the left side should be longer) to tie the knot. Then pull the top corner over the shoulder and tie it together with the double bottom corner knot. Or tie it with a small strip at the top corner. If it's the left chest, place the top corner on the left shoulder. Used on the left and right backs, it is the same as on the chest, but the knot should be tied on the chest;
- Full chest bandaging method - Cut the top corner of a large triangular bandage straight in the middle by about 25-30 centimeters, place it on the left and right sides of the neck respectively, then tie half of the left and right corners of the base at the back, and then lift up the two corners of the base and tie them together with the two ends of the torn top corner;
- Shoulder bandaging method - First, place the center of the triangular bandage on the shoulder, with the top corner facing the neck and the bottom edge folded to two fingers wide and placed horizontally on the upper part of the upper arm. Tie a knot around the outer side of the upper arm at both ends, then tighten the top corner and pull it down through the back around the opposite armpit towards the injured armpit. Use a tie to tie the knot with the two bottom corners;
- Abdominal bandaging method - Place the triangular bandage horizontally on the abdomen, with the top corner facing downwards and the bottom edge placed at the navel. Tighten the bottom corner until it wraps around the waist and tie a knot. Pull the top corner through the perineum to above the buttocks, and tie the knot with the remaining head of the bottom corner. This method can also be used to bandage the buttocks, but the difference is that the top and left and right corners are knotted in the abdomen;
- The large cantilever strap method - suspending the bent forearm with a triangular bandage on the chest, called a cantilever strap, is used for forearm injuries and fractures. The method is to place the triangular bandage on the healthy side of the chest, with the bottom edge parallel to the torso, the upper end over the shoulder, and the top angle facing the elbow of the injured arm. The injured arm is bent at a right angle and placed in the middle of the triangular bandage, with the lower end wrapped around the injured arm and folded over the injured side shoulder. The ends are knotted behind the neck or on the side. Fold back the top corner and secure it with a pin;
- Small cantilever strap method - fold the triangular bandage into a strap to lift the front part of the forearm [without supporting the elbow], suitable for shoulder joint injuries, clavicle and humerus fractures.
Package including:
- 1/5/10Pcs * First Aid Kit Medical Bandage
Note:
- There could be some slight differences in the color tone of the pictures and the actual item.
- Please allow 1-2mm differs due to manual measurement, thanks.
No Retail Box,Packing Safely in Bubble Bag.